The *best* way to install Python
Reliable Python installation on MacOS, Windows, and Linux.
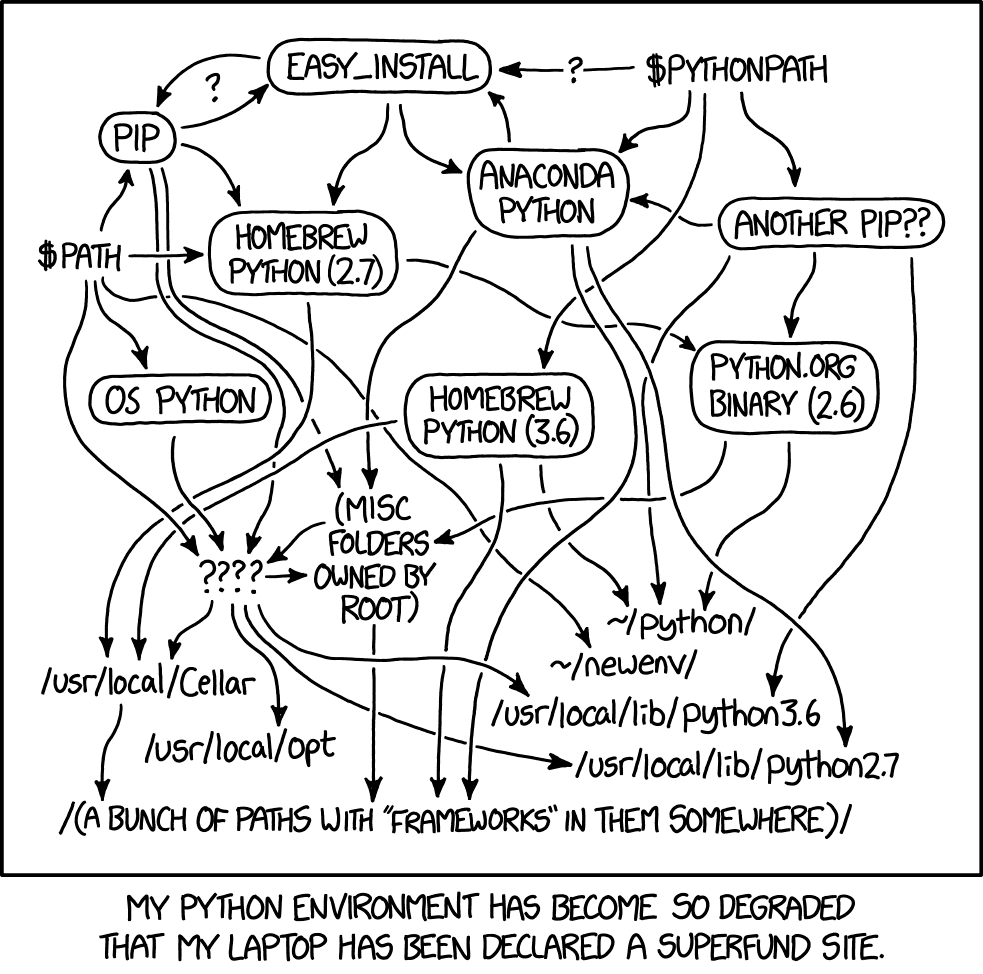
Let’s be honest about this. Python is great, but managing multiple python versions & dependencies across different projects is not. As a professional data engineer and university professor, I would like a reliable python installation method that allows me to keep each project’s dependencies isolated and does not introduce extra complexity to the management process. There are two candidates:
- (Close enough) Dockerizing everything! This approach works great on an engineering environment but introduces extra complexity on an academic context.
- (Winner) Using pyenv and venv. Keeps everything “python friendly” without introducing foreign ideas.
Prerequisites
For MacOS/Unix users, a regular terminal with git installed should work fine.
For Windowns users, one of the following is recommended:
- Git Bash - recommended for entry-level users.
- WSL (Windows Subsystem for Linux)
Both users should have git installed and
configured on their preferred terminal.
PyEnv Installation: 3 Easy Steps
STEP 1: Install PyEnv
Open a terminal and execute the following command:
$ curl -L https://rhdzmota.com/code/pyenv.sh | bash -s -- install
- That command will install
pyenvin the root directory.
STEP 2: Configure in your terminal
Add pyenv to the path, configured via your terminal. Execute the following command to detect which shell you are using:
$ echo $SHELL
-
If you are using
Git Bashor/usr/bin/bash, run the following:- Execute:
echo 'export PATH="$HOME/.pyenv/bin:$PATH"' >> ~/.bashrc - Reload:
source ~/.bashrc
- Execute:
-
If you are using
/usr/bin/zsh, run the following:- Execute:
echo 'export PATH="$HOME/.pyenv/bin:$PATH"' >> ~/.zshrc - Reload:
source ~/.zshrc
- Execute:
STEP 3: Verify installation
Test your installation by running:
$ pyenv help
Should output something similar to:
Usage: pyenv <command> [<args>]

Some useful pyenv commands are:
   commands    List all available pyenv commands
   local       Set or show the local application-specific Python version
   global      Set or show the global Python version
   shell       Set or show the shell-specific Python version
   install     Install a Python version using python-build
   uninstall   Uninstall a specific Python version
   rehash      Rehash pyenv shims (run this after installing executables
   version     Show the current Python version and its origin
   versions    List all Python versions available to pyenv
   which       Display the full path to an executable
   whence      List all Python versions that contain the given executable

See `pyenv help <command>' for information on a specific command.
For full documentation, see: https://github.com/pyenv-win/pyenv-win#readme
Python Versions & Installation
The beauty of pyenv is that it allows us to easily install multiple python versions. As a recommendation, I usually install the latest
databricks long-term support runtime (LTS) recommended python version. At the time, this is the 3.8.8 version.
Install multiple python versions
Let’s install the recomended python versions for the following databricks runtimes:
7.3 LTS Runtime:3.7.5 Python9.1 LTS Runtime:3.8.8 Python
We can easily do this by running the following:
pyenv install 3.7.5pyenv install 3.8.8
Set the global and local default version to 3.7.5:
pyenv global 3.7.5- referes to the python version that should be used globally. It’s used as a fallback when the local configuration is not set.pyenv local 3.7.5- referes to the “local” python version that should be used at a “directory” level. You can set each directory to a different local python version.
Show all installed versions with: pyenv versions
- The
*indicates which python version is being referenced in the curent location.


Running python commands
You can run python through pyenv as following:
$ pyenv exec python <command>
- Example 1:
pyenv exec python --version - Example 2:
pyenv exec python -c 'print("Hello, world.")'
I strongly recommend using python’s venv (virtual environment) module to manage python dependencies. A good practice is to create an independent venv on each project to:
- Enable using different python versions per project when needed.
- Isolate dependencies and avoid any possible mismatch or incompatibilities across projects.
Once you are on a project directory, run the following to create a virtualenv:
$ pyenv exec python -m venv venv
- Expected output: a new directory called
venvin the root of the project.
You can activate the virutal environemnt with the following commands:
- MacOS/Unix users:
source venv/bin/activate - Windows users:
source venv/Scripts/activate
Once you activate the venv, you should be able to use python directly in the terminal:
$ python --version

Congratulations! You are now ready to go.
Example of a more complex python gitignore file here.
Usage - Cheat Sheet
- Set the local python version (relative to current directory)
$ pyenv local X.Y.Z
- Create a python virtual environment via pyenv
$ pyenv exec python -m venv venv
-
Activate/Deactivate virtualenv:
- Activate:
- Windows users:
source venv/Scripts/activate - Everyone else:
source venv/bin/activate
- Windows users:
- Deactivate:
deactivate
- Activate:
-
Install requirements file:
$ pip install -r requirements.txt
